Cutting and Trimming Call of Duty: Black Ops 2 Zombies Perk Icons
Process
This project started since I wanted to find images for each perk icon from the zombies mode of Call of Duty: Black Ops 2 that had the following properties:
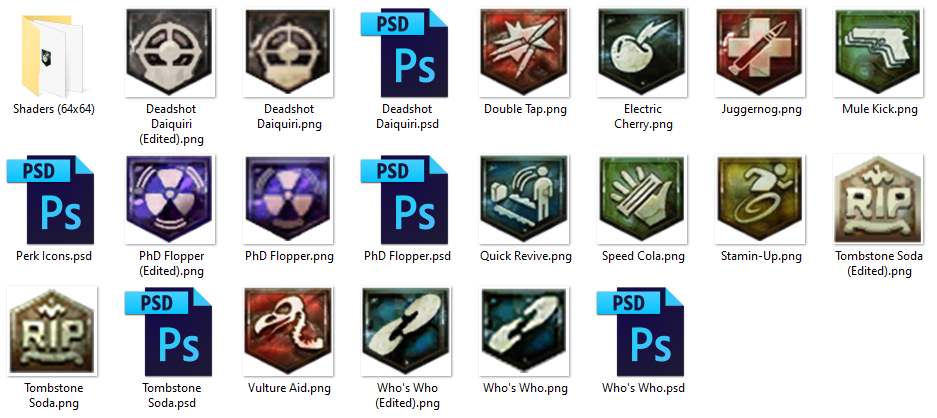
I started with a "shader pack" used for custom map makers on Black Ops 3 (https://forum.modme.co/threads/drag-drop-agcs-black-ops-2-shader-pack-bo3.2260/). The download contains 64x64 pixel variations for most of the original perk icons, however, PhD Flopper (6), Deadshot Daiquiri (7), Tombstone Soda (9), and Who's Who (10) had modifications by the pack creator to try and make them look better. I wanted to stay true to the original icons, so this is where photoshop came in handy. The shader pack page contained an image of the original perk set, plus Widow's Wine which wasn't released in Black Ops 2, and is not of importance. This image is 448x128, which I could crop and upscale to 300x300 for the 4 individual icons that were modified.
- square, and cropped correctly
- transparent background
- original image used in the game and not a custom variation
- scaled to be higher quality than 64x64 pixels (I want 300x300 for a Steam profile picture)
I started with a "shader pack" used for custom map makers on Black Ops 3 (https://forum.modme.co/threads/drag-drop-agcs-black-ops-2-shader-pack-bo3.2260/). The download contains 64x64 pixel variations for most of the original perk icons, however, PhD Flopper (6), Deadshot Daiquiri (7), Tombstone Soda (9), and Who's Who (10) had modifications by the pack creator to try and make them look better. I wanted to stay true to the original icons, so this is where photoshop came in handy. The shader pack page contained an image of the original perk set, plus Widow's Wine which wasn't released in Black Ops 2, and is not of importance. This image is 448x128, which I could crop and upscale to 300x300 for the 4 individual icons that were modified.
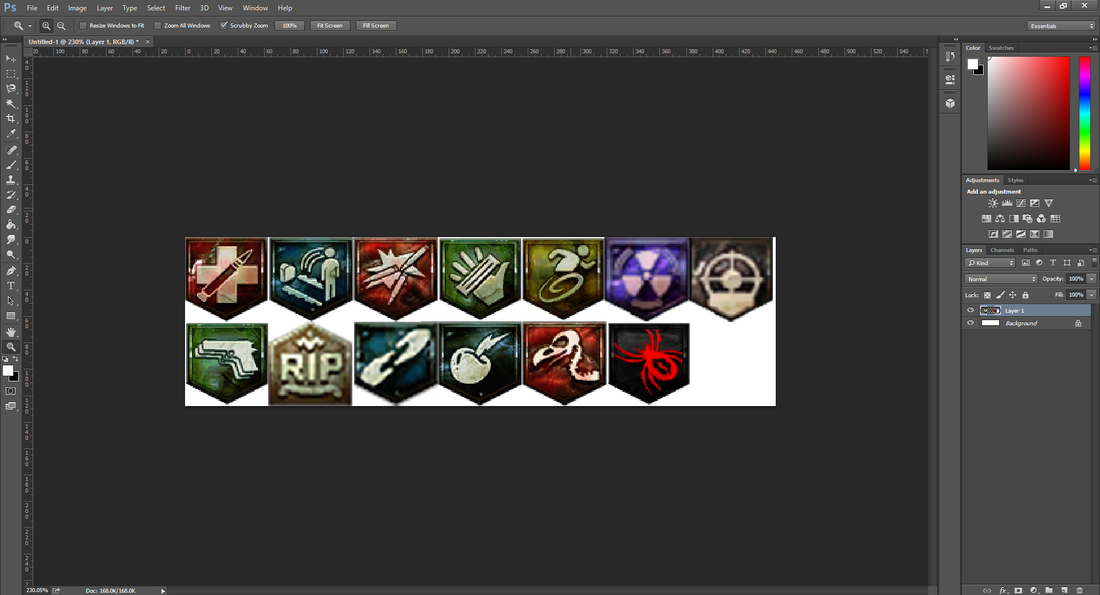
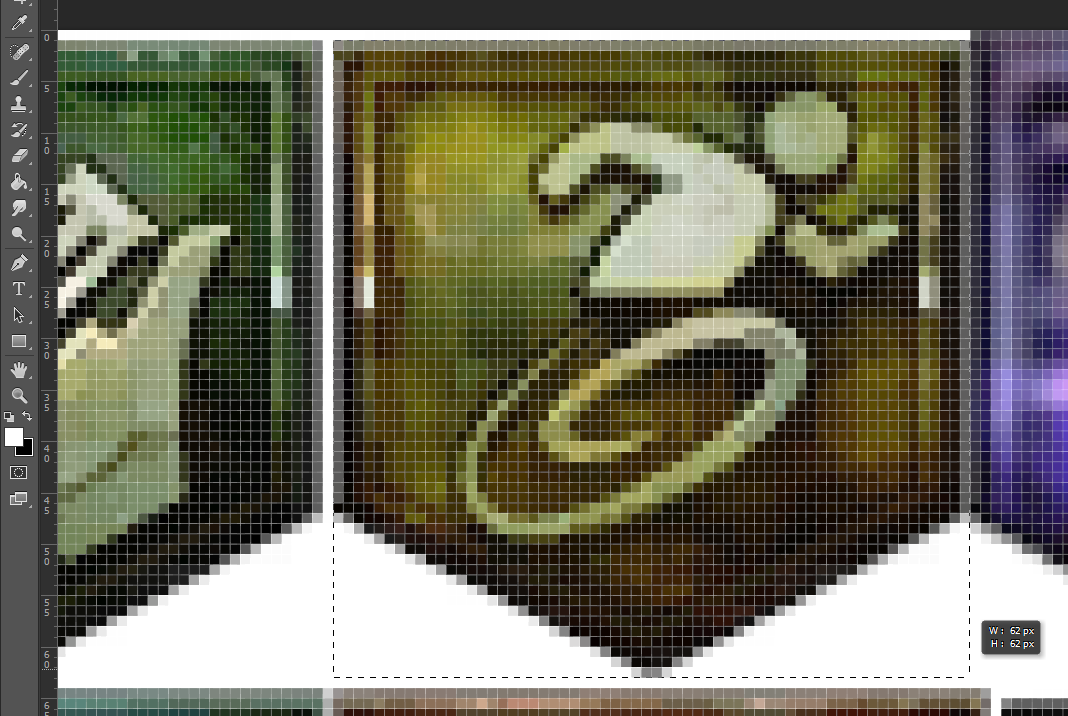
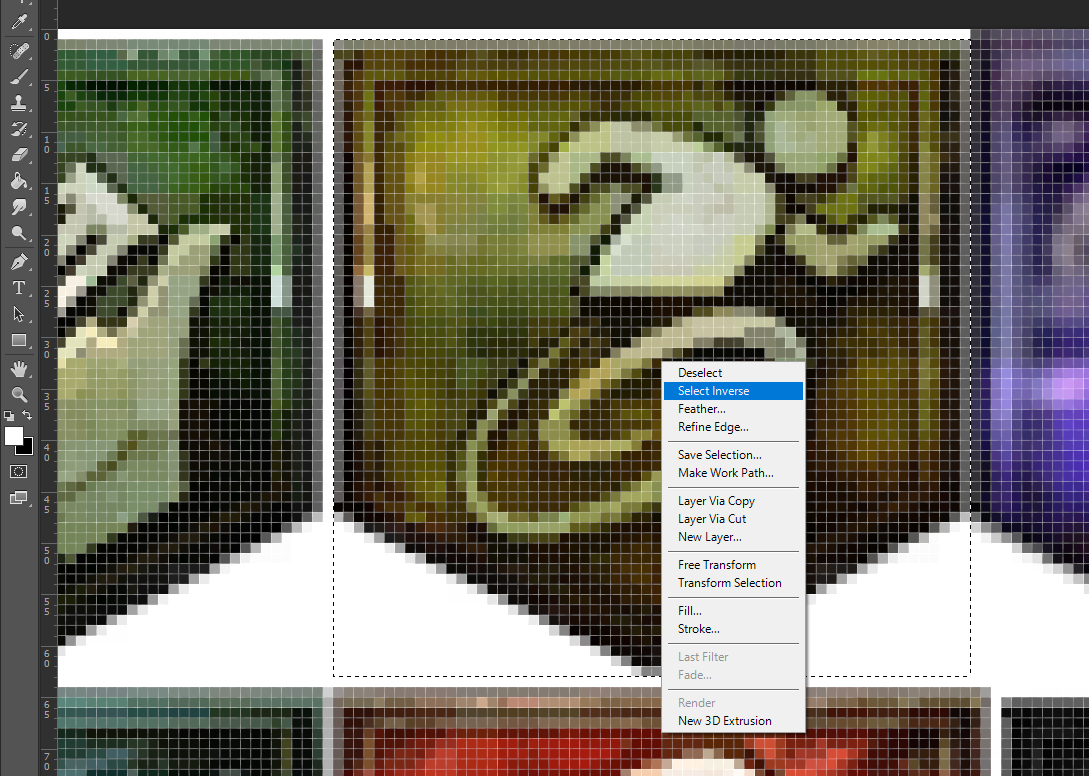
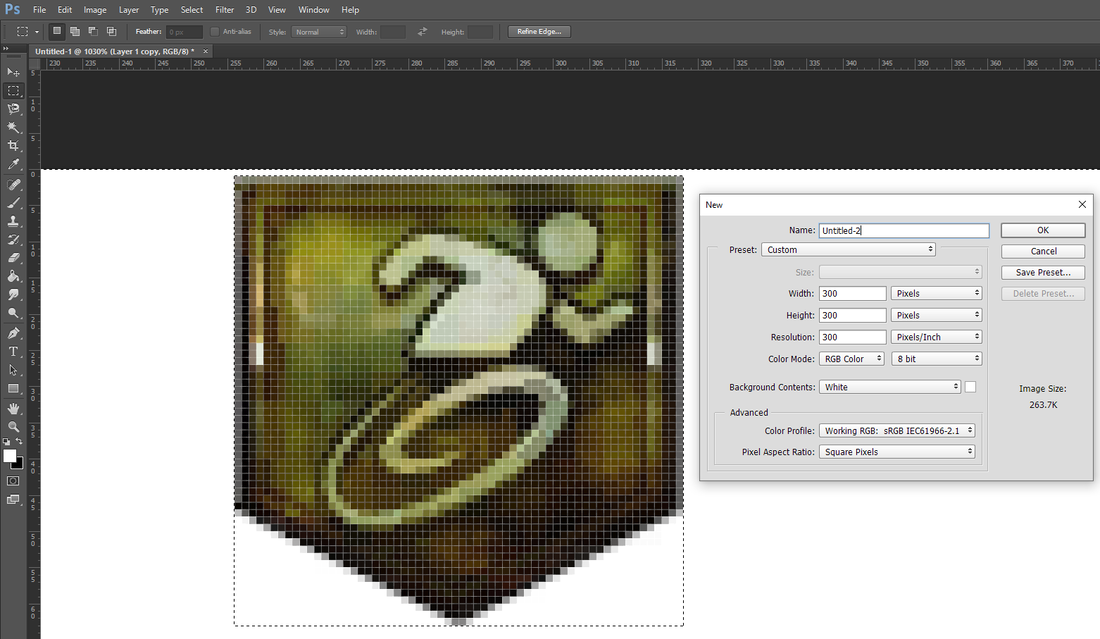
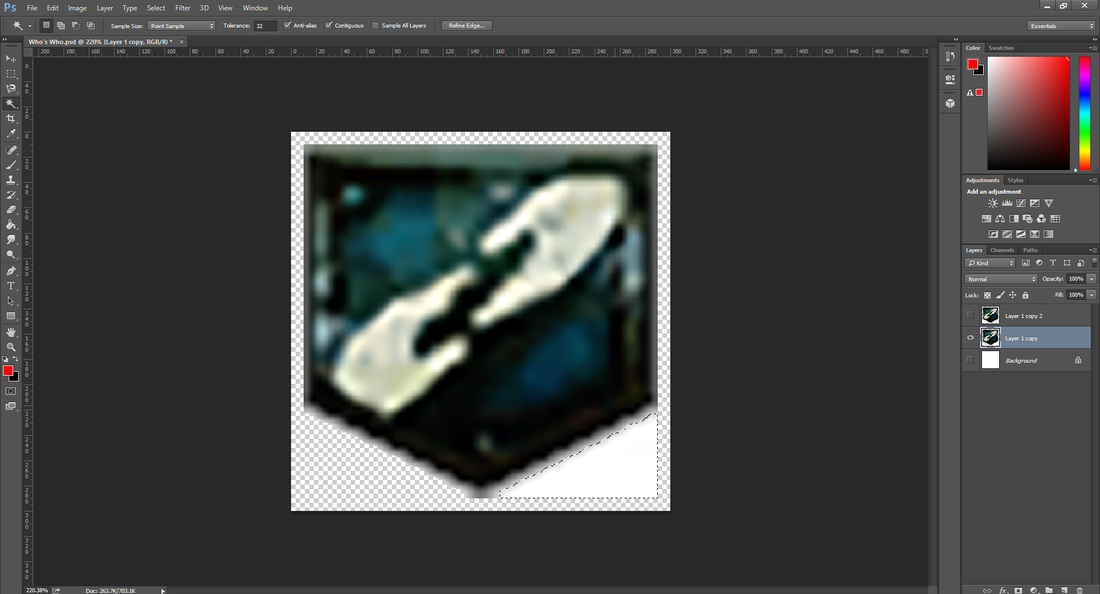
With this image imported into photoshop, I zoomed in (shortcut: Z) and used the select tool (shortcut: M) to select a square around the icon. I created a copy of the layer to keep as a backup for redoing the process with other icons. Then, I right clicked the selection, and chose "Select Inverse." After, I pressed Delete to remove everything but the icon of interest.
|
|
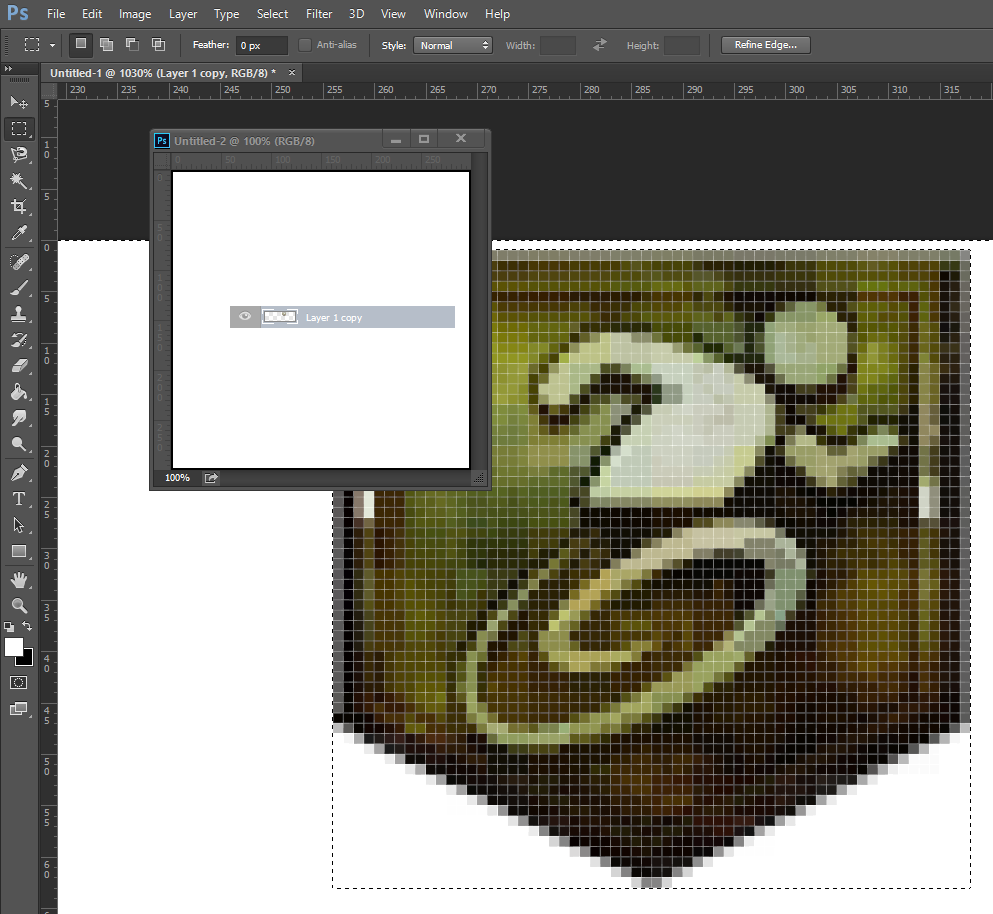
Next, I created a new file with that was 300x300 pixels. I dragged the tab of the new file out of the dock to view both files at once. Once I clicked back on the original, I could drag the icon layer to the new file. Then, the perk icon appeared as a new layer in the new file.
|
|
I re-docked the new file to view it full screen.
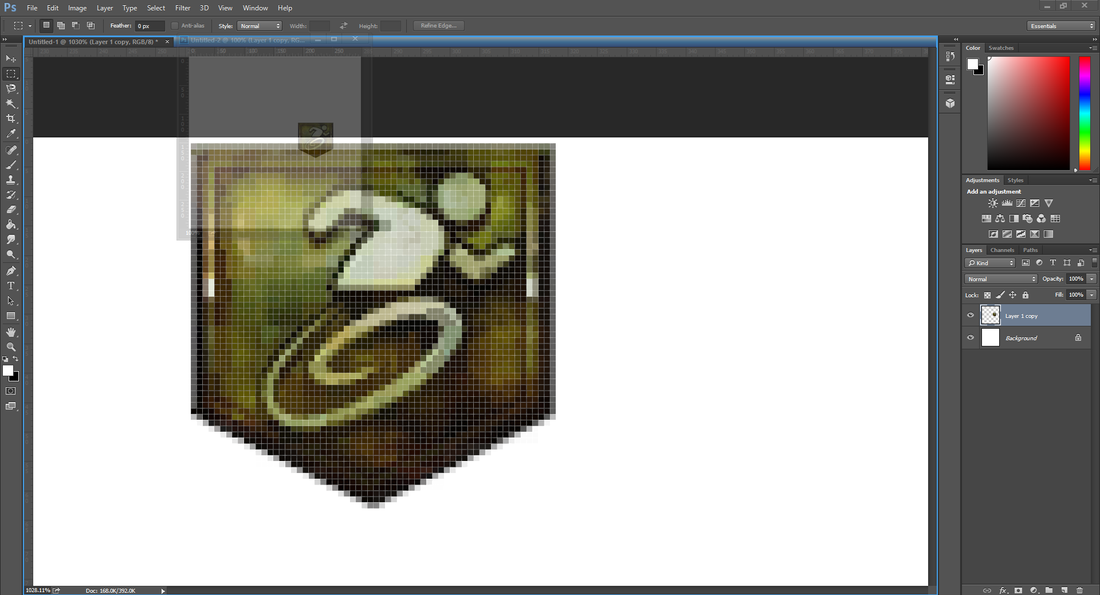
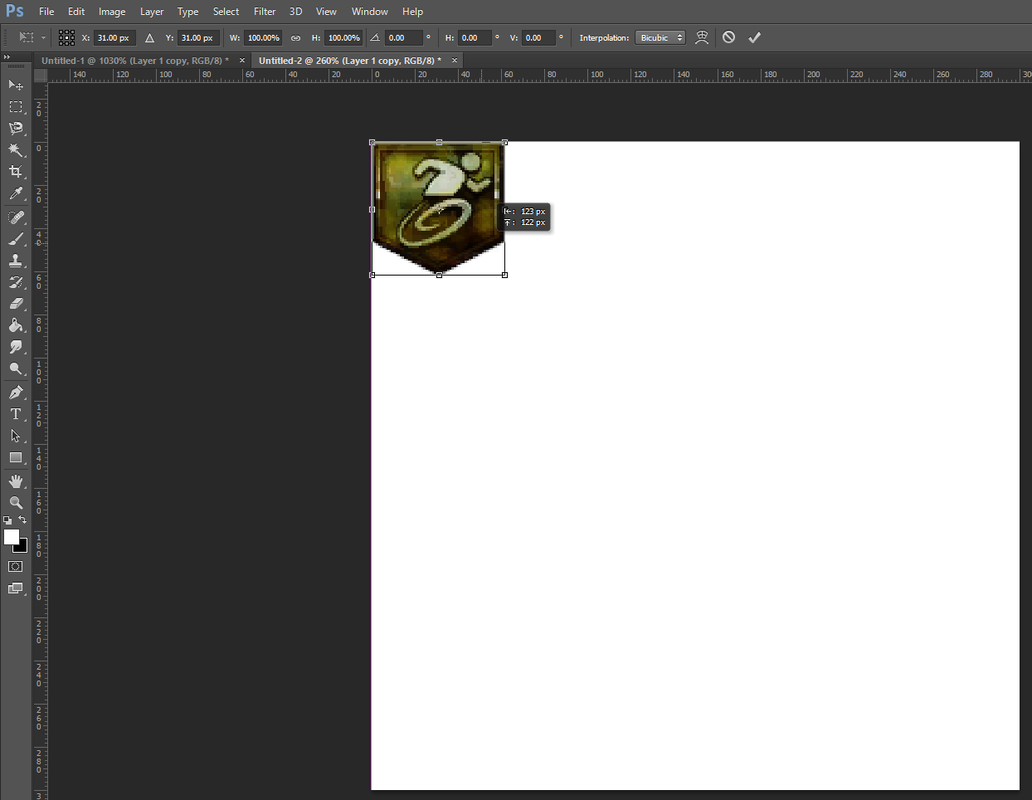
The layer could now be resized to fill the 300x300 file, or in my case I resized to 290x290 so that there is a little space between the icon and the border of the picture.
|
|
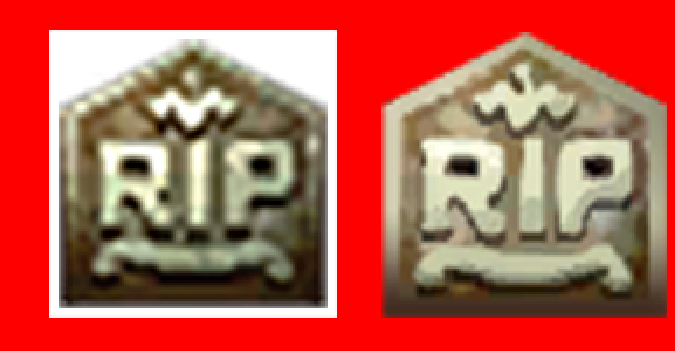
However, the background of the original document was white, so further doctoring was required to achieve a transparent background. The difference between the original (left) and the modified (right) icons can be seen above in the picture with a red background. To fix this I hid the default background layer to see the checkerboard pattern behind the picture in photoshop. Then, I used the magic want tool to select any white portions and pressed Delete.
Final Files
| bo2_zombies_perk_icons_300x300.zip |
6/17/2020
